Archives

Chicken wings (hold the sauce) LOL

We got a new chicken the other day… as sort of a rescue.

She had a good home – but for some reason the new pet dog had a fondness for licking snowflake! (Is that called puppy love?)

 
Since AppleRose needed a friend, we gladly took this beautiful chicken in 😍

Snowflake doesn’t fly – but AppleRose is notorious for leaving her pen!

 
So… We decided to clip her wings.

I admit I was afraid, but it’s so stinking easy I wish I had done it sooner!

1. Have a partner hold your chicken backwards – rear sticking out

 
2. Fan a wing out –  

Notice how there are front  wings and back wings – (on our chicken there was a distinct difference in feather colors)

3. Trim the wings like fingernails 


* I watched one YouTube video of a chicken’s wings being clipped and I felt confident to do it myself!!

The chickens are very happy together!

An old fashion lawn mower

No… We didn’t get a goat LOL!

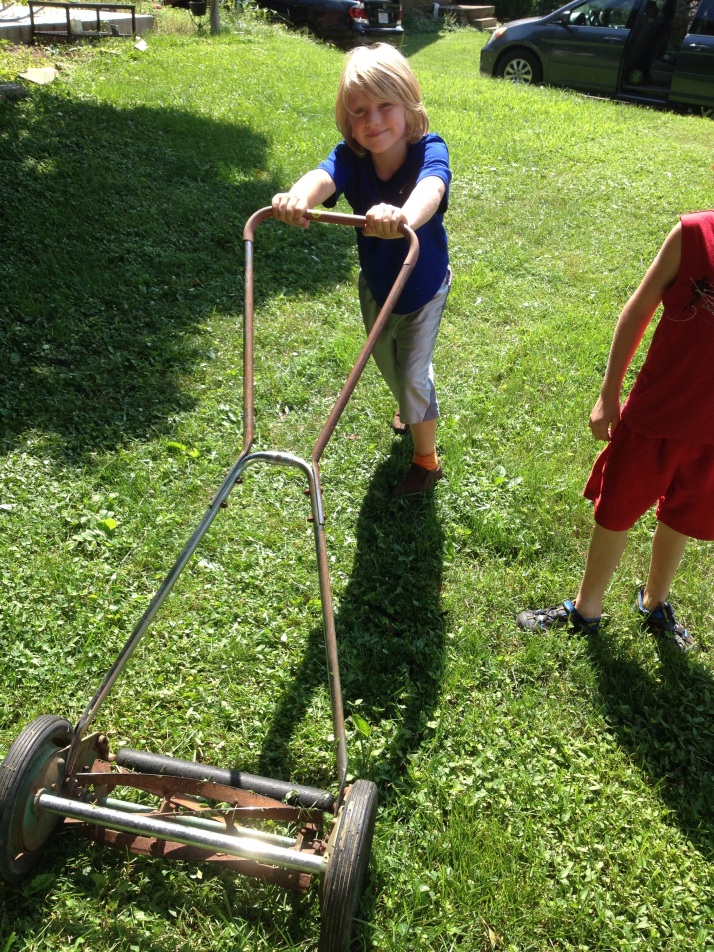
We did get this vintage push mower, though, for $4 at a garage sale! My husband haggled the price down from $5! 😊


  The boys were so excited to mow the lawn! Eli kept insisting that the mower was his and that he was going to “lawner the grass”! LOL  

  
Well… The mower was harder then it looked and he was unable to push it despite a galliant effort!

Andre was next and he managed to cut a few feet of grass –

  
Edison was a trooper! He put his back into it and cut the whole front yard!

  
Eddie was so proud… As was I!

I like how I could trust him to be safe with this simple tool and he liked that I trusted him ❤️

You might be a hippie if…

You might be a hippie if you mow the lawn – barefoot! 

 I started out in flip-flops but the smell of freshly cut grass was too much… I kicked them off and wiggled my toes right into the soft sticky grass 😃

    
Happy feet mean a happy sole!

*pun intended 😉

Farmer Elijah

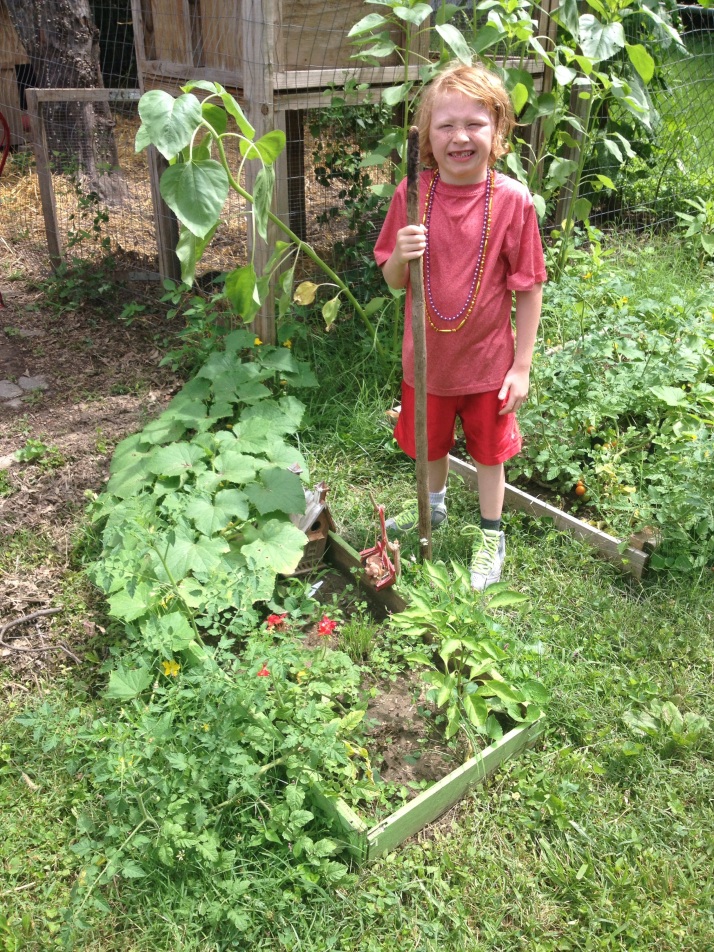
Eli has been working on his garden – weeding it, watering it, and talking sweetly to his plants!

  
He even picked his first harvest from his garden…

  
He didn’t consider himself a farmer, though, until we bought him a real farmer’s outfit!

A quick trip to the Salvation Army got him his ENTIRE outfit for $5!  

All morning Eli has been saying, “I can’t believe I’m a real-life farmer!”

I’m so excited that his role-model has gone from Spider-Man to Farmer-Man!

***************

UPDATE:

Eli’s outfit was such a hit in the family, Simone and Andre needed their own outfits too!

  
   Looks like I’ll be looking for my own pair of overalls LOL!!
Rainbow Swiss Chard – from the garden to the table

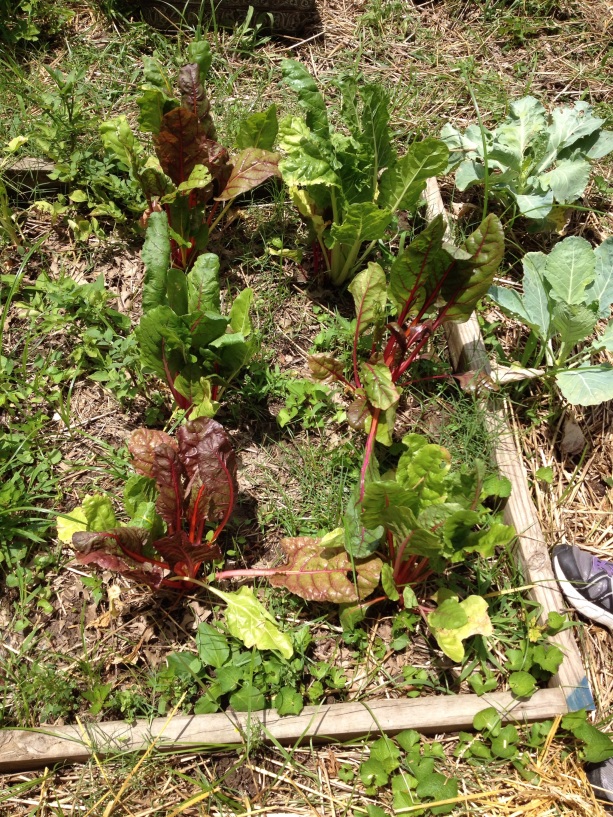
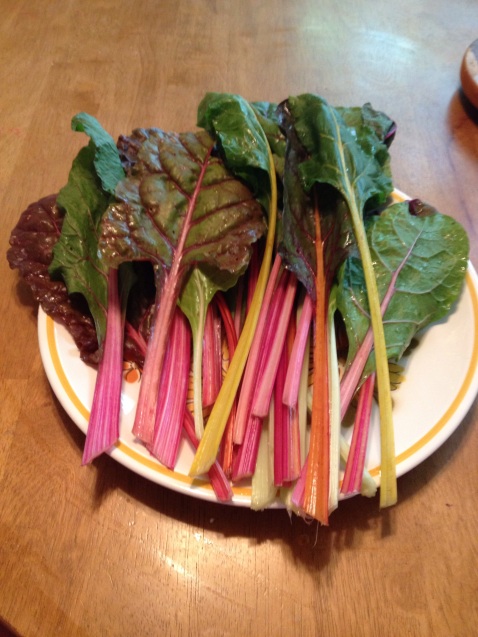
My rainbow Swiss chard is ready to be eaten!!  The stalks and leaves are ao beautiful and bright!


I’ve grown chard before but didn’t do much with it other than admire it’s colors!

I get intimidated when it comes to harvesting and preparing food that I grew… Even though it’s surprisingly easy!!!

Simone was my helper today and I think she should get an A+ in both gardening and cooking ❤️
HARVESTING 

Simone cut four leaves off of each plant- she just snipped it with scissors at the base…


I felt so farmer-like with my bouquet of chard!


Anyway 😊 we washed the chard with cold water (and found a dead fly and a very much alive spider)!


Chopping the Swiss Chard


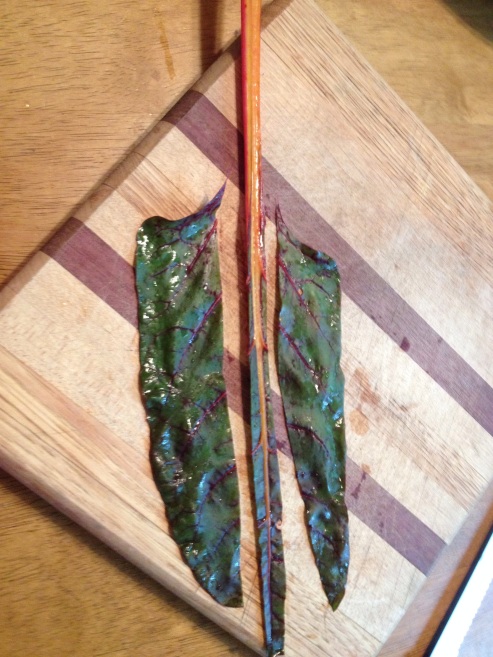
1. Seperate the leaves from the stem


2.  Slice the stem down the middle and chop it into little pieces.


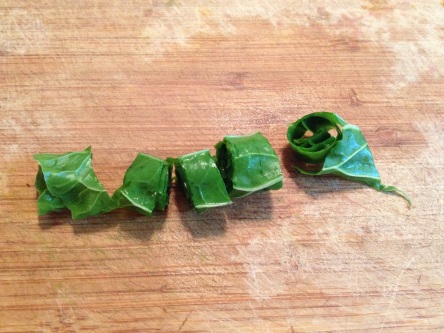
3. Roll the leaves and cut them into fourths. (You can layer them to save time)


4. Keep the leaves and stems seperate since they will be cooked at different times).


5. Peel and cut two onions.


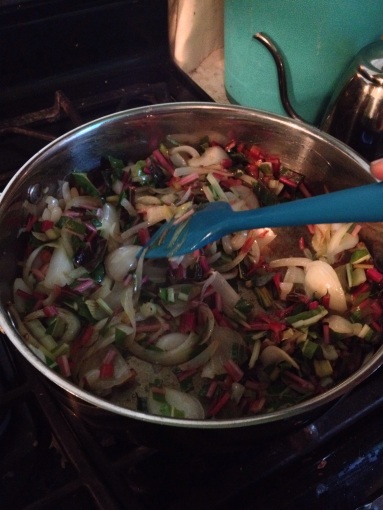
6. Sauté the onion with butter (or oil) and garlic. Get them carmelized – meaning brown and sweet!


7. Throw in the stems and sauté for about 5 minutes.


8. Throw in the leaves, stir, and cover for 5 min on low heat.

9. Serve and eat!


* I served this with scrambled eggs and love kids LOVED it!! 💚

Drying herbs

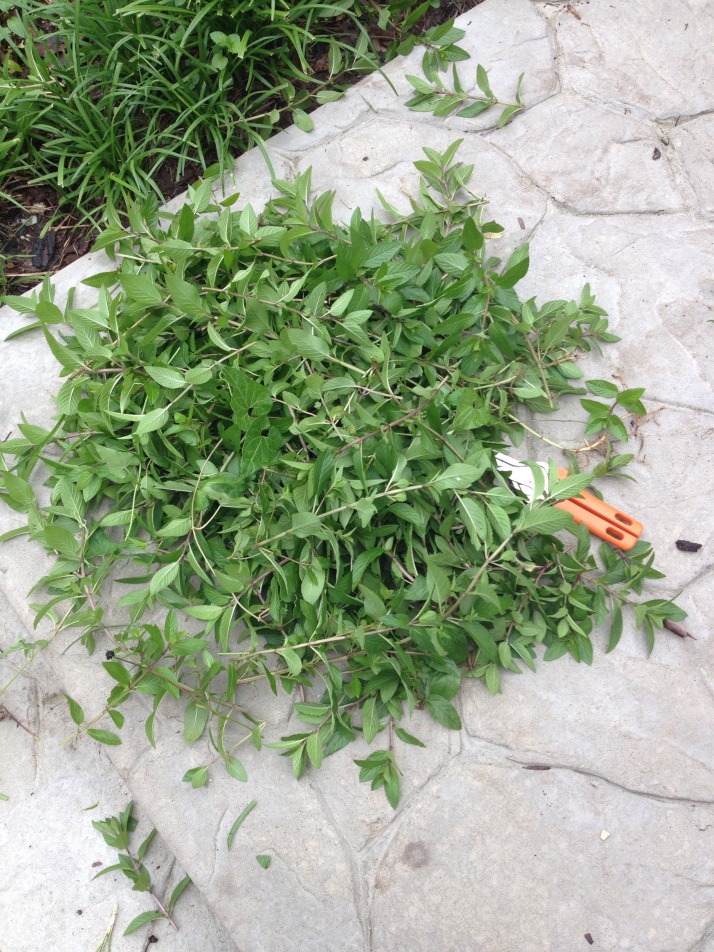
The sunshine ☀️ yesterday was absolutely heavenly!   Today, it’s back to rain ☔️ and thunder and lightening ⚡️ The good thing is I spent part of the day outside in my garden 🌻🌿🌼 Every year, I have good intentions of drying my herbs, but I never did! This year I was going to change that! Because of all the rain, everything was growing like crazy, so I decided to begin harvesting! The mint in my front flower bed was quite tall – so Eddie and I gave it trim.   I soon had a ton of mint!    Eddie helped bundle it in stalks of 10-12 (not too many, there needs to be good airflow to all the leaves so they can dry).    We tied sting around the end and made a loop to hang it with.    I brought all my bundles to the back sunporch…    I then used thumbtacks and hung them (upside down) above the curtains –    It was so much fun fun 😄 however, we were going to be having company and the dishes were calling my name! So, Simone and Eddie took over the herb drying – and they did a fantastic job cutting and bundling!   In addition to the mint, we now have oregano, sage, lovage, and lavender drying in the sunporch.       When the rain stops again, I’m going to harvest and dry dill, chives, basil, and cilantro! What am I going to do with all these herbs? Eat them LOL! I make my own veggie stock by throwing a bunch of veggies and spices/herbs into a pot and boil it for a few hours. Then when it cools, I put it in mason jars and freeze for soups and stews!  

Sprouts in unusual places!

We have had A LOT of rain!

Today, it has finally stopped… Although it’s supposed to start up again tomorrow…

I came outside to enjoy the sunshine ☀️ and check on things.  This is what I found!

Sprouts in the bird feeder – 


And sprouts in a pair of gloves I left in the garden next to an unused packet of seeds! LOL!!

  
On a different note- a pair of birds are raising a family in my apple birdhouse I bought at a garage sale 😍


Homemade Mulberry Jam

Last year, the kids and their dad collected mulberries from the back yard.  Then… they made mulberry jam!

This year… the kids have free range to make the jam themselves!

First – they collected the berries. Some they picked off the tree but most they just picked off the ground.

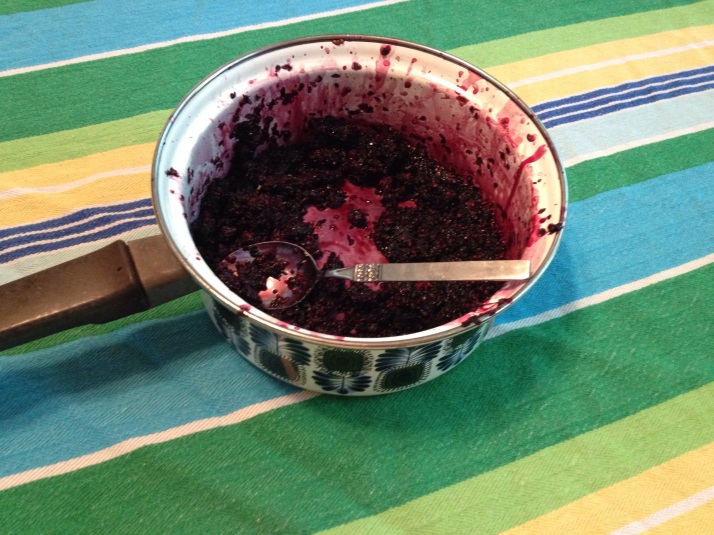
Next- they washed them and put them in a small pot to boil.

Andre began smashing the berries with vigor!

The jam simmered for another 20 minutes… And it was done!

… And it tasted delicious!!

Mulberry Jam 🍇


I didn’t even bother putting it in a jar because I made some gluten free biscuits to eat it on – and knew it would be gone shortly.

(And I was right)


Gluten Free/Corn Free Recipe

(I tweaked a recipe I had been using  and the results are fabulous – I foresee more buscuits being made)

1 1/2 C Sorghum Flour

1/3 C Tapioca Starch

1/3 C Coconut oil

2/3 C Milk

1 egg

2 T maple syrup

1t cream of tartar

1/2 t baking soda

1/2 t sea salt

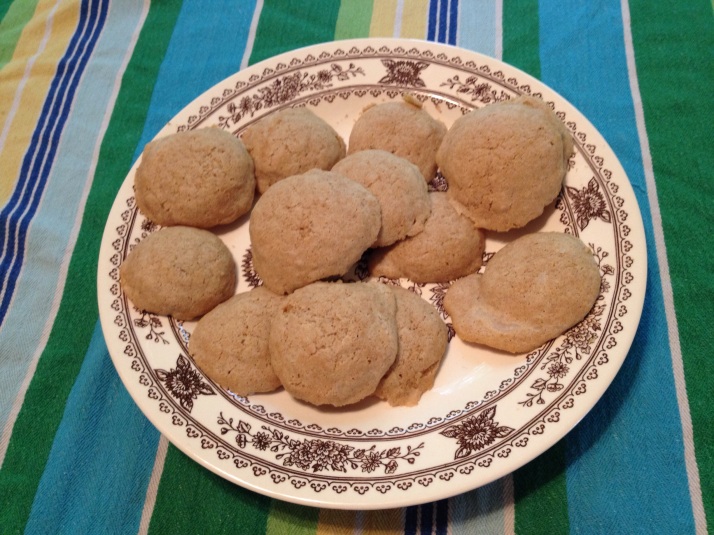
The batter is loose and sticky  so I used a small cookie dough shaper to make the buscuits.


The finished buscuits:

The kids loved the jam so much that they went outside and picked another bowl of mulberries!

🎶🎶 strawberry fields forever…🎶🎶

Sometimes all the sadness and pain in the world is overwhelming 😦

When I feel overwhelmed and depressed I take solace in nature.  

I’m in need of comfort food – so I’m reaching for… some homegrown sweetness!! Nature’s medicine 😊

Strawberries are probably the easiest thing I’ve ever grown!

I planted maybe 20 plants last year… 

… And hardly got any berries last year!

However!

This year – without having to do anything at all (except for putting down straw to keep the weeds out) we have a full crop 🍓!!     

 
 Home grown strawberries are the absolute the best ❤️!

  
 I am totally adding another berry patch for next year!! 

…and I’m feeling better already ❤️🍓